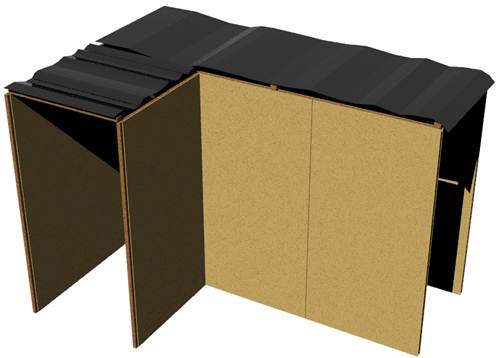
Building Tongue and Groove Haunted House Wall Panels
You can build this!
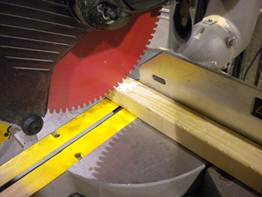
This document describes one way to build haunted house wall panels. The panels are designed to be easily setup and taken down each season. Each panel will require (2) 4x8x1/4” plywood sheets, (2) 2x3x8’ studs, (3) 2x2x8’ studs, and nails or screws.
WALL PANEL ASSEMBLY
|
1 |
|
2 |
|
|
|
|
|
|
|
|||
|
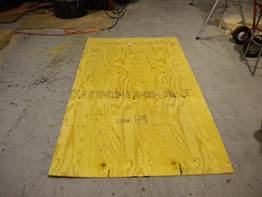
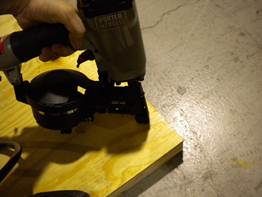
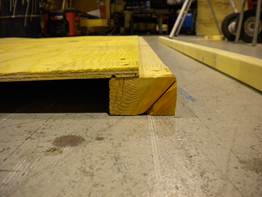
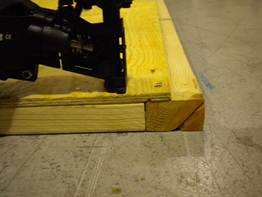
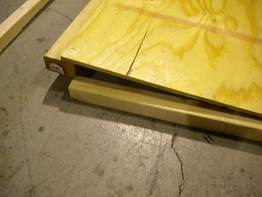
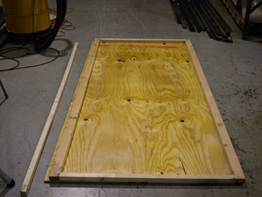
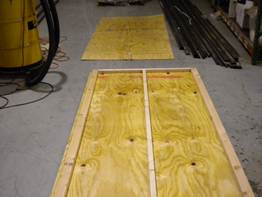
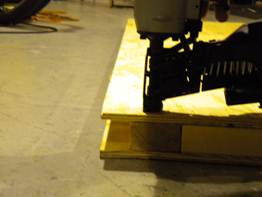
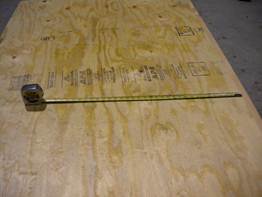
Lay one 4x8x1/4” plywood sheet on the floor |
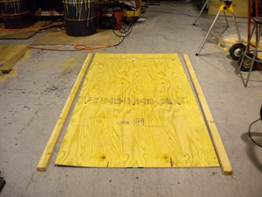
Place the 2x3x8’ studs next to the sheet |
|
|||
|
3 |
|
4 |
|
|
|
|
|
|
|
|||
|
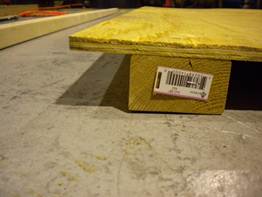
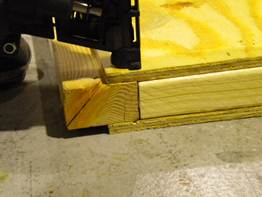
Slide the 2x3x8’ studs under each side of the sheet. Slide a 2x2x8’ stud down the middle for temporary support (this will be removed once the 2x3’s are nailed in place) |
The assembly so far should resemble this. |
|
|||
|
5 |
|
6 |
|
||
|
|
|
|
|||
|
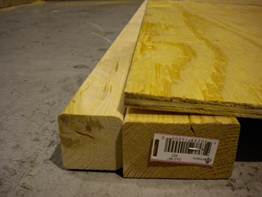
We will be using a 2x2x8’ stud to measure a perfect groove. |
Slide the 2x2x8’ stud next to the 2x3x8’ stud. Make sure they are both perfectly aligned to each other and to the edge of the plywood sheet. |
|
|||
|
7 |
|
8 |
|
|
|
|
|
|
|
|||
|
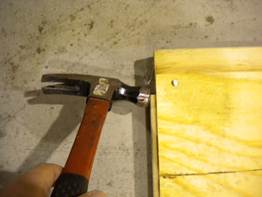
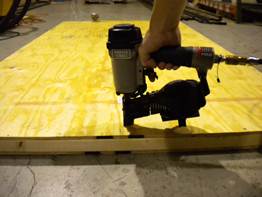
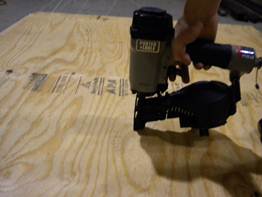
Nail or screw along the length of the 2x3x8’ stud. Do not nail into the 2x2x8’ stud that we are using for groove measurement! |
Remove the 2x2x8’ stud once the 2x3x8’ is nailed in place. |
|
|||
|
9 |
|
10 |
|
|
|
|
|
|
|
|||
|
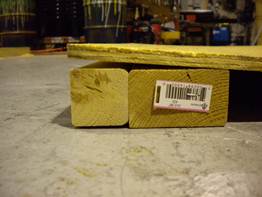
We will now place the tongue side. Place the 2x2x8’ on top of the 2x3x8’ and align them perfectly to each other and the plywood sheet. |
Nail or screw along the length of the 2x3x8’ stud. Do not nail into the 2x2x8’ stud that we are using for tongue measurement! |
|
|||
|
11 |
|
12 |
|
||
|
|
|
|
|||
|
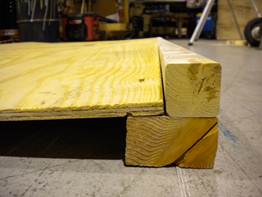
Remove the 2x2x8’ stud once the 2x3x8’ is nailed in place. |
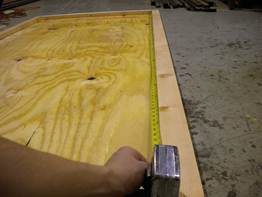
We will now place the end cap 2x2 studs. Measure the internal distance between the two 2x3x8’ studs. |
|
|||
|
13 |
|
14 |
|
|
|
|
|
|
|
|||
|
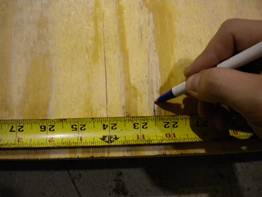
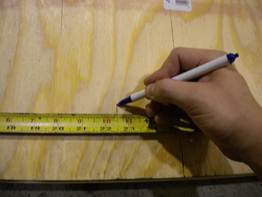
Your measurement should be right around 42-7/8” |
Transfer the measurement to a 2x2 stud. |
|
|||
|
15 |
|
16 |
|
|
|
|
|
|
|
|||
|
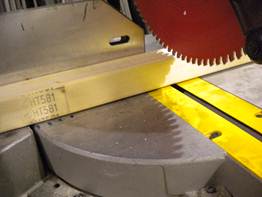
Cut the 2x2 stud to the proper length. |
Place the 2x2 stud into place. |
|
|||
|
17 |
|
18 |
|
||
|
|
|
|
|||
|
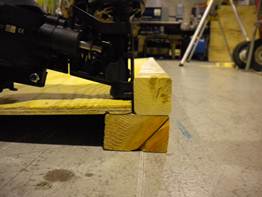
The fit may be tight and tapping with a hammer helps to get it into place. |
Your assembly should resemble this. |
|
|||
|
19 |
|
20 |
|
||
|
|
|
|
|||
|
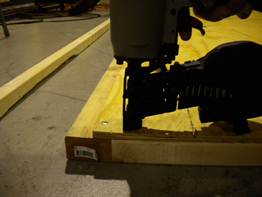
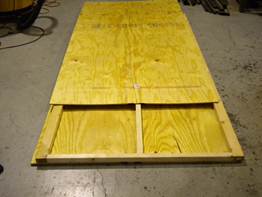
Nail the 2x2 stud in place all the way down the edge. |
This shows the other end of the wall. We will be doing the same exact thing on this end. |
|
|||
|
21 |
|
22 |
|
|
|
|
|
|
|
|||
|
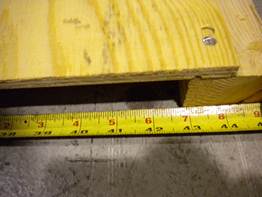
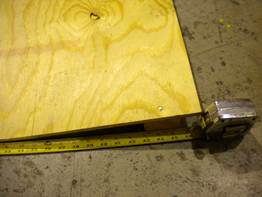
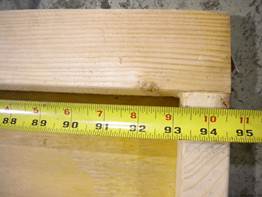
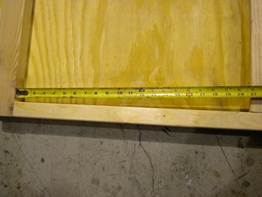
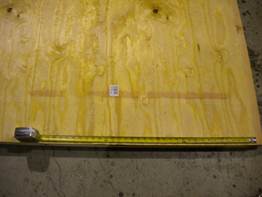
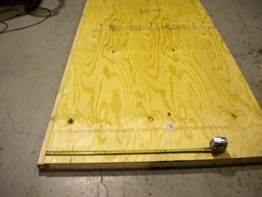
Measure the internal distance between the two 2x3x8’ studs. |
Transfer the measurement to a 2x2 stud. |
|
|||
|
23 |
|
24 |
|
|
|
|
|
|
|
|||
|
Cut the 2x2 stud to the proper length. |
Place the 2x2 stud into place. |
|
|||

|
25 |
|
26 |
|
|
|
|
|
|
||
|
The fit may be tight and tapping with a hammer helps to get it into place. |
Nail the 2x2 stud in place all the way down the edge. |
|
||
|
27 |
|
28 |
|
|
|
|
|
|
||
|
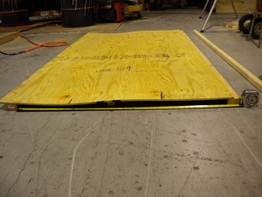
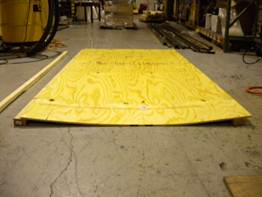
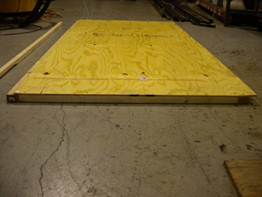
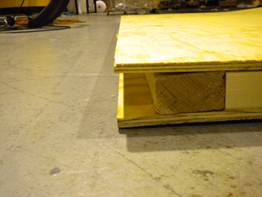
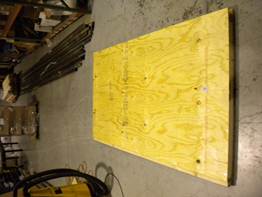
Your assembly should resemble this. |
We will now install the center stud. Flip the wall panel over so that the underside is showing |
|
||
|
29 |
|
30 |
|
|
|
|
|
|
||
|
Measure the distance between the bottom and top 2x2 end cap studs. |
Your measurement should be right around 93-1/4” |
|
||
|
31 |
|
32 |
|
||
|
|
|
|
|||
|
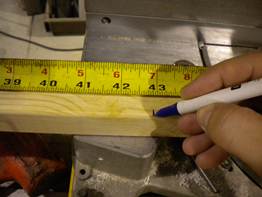
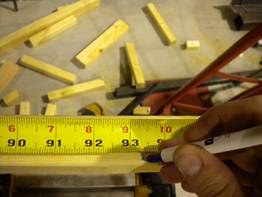
Transfer the measurement to a 2x2 stud and cut it to length. |
Place the 2x2 center stud in place. |
|
|||
|
33 |
|
34 |
|
||
|
|
|
|
|||
|
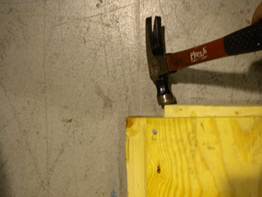
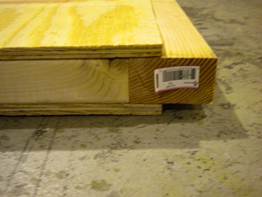
You may need to tap it with a hammer |
Measure the halfway point between the two outer studs. |
|
|||
|
35 |
|
36 |
|
|
|
|
|
|
|
|||
|
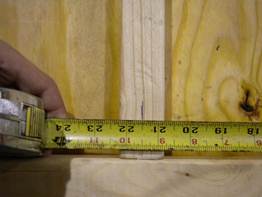
The center should be right around 21-1/2”. We will need to use this measurement for later so save it. |
Make sure that the center stud is positioned directly down the center as marked by your measurements. |
|
|||
|
37 |
|
38 |
|
|
|
|
|
|
||
|
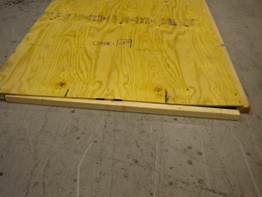
Place a 1/4" plywood sheet on top of the assembly. |
Make sure that the left… |
|
||
|
39 |
|
40 |
|
|
|
|
|
|
||
|
…and right edges of the plywood sheets align with each other. |
Nail the plywood sheet into place down the entire length of the assembly on the tongue… |
|
||
|
41 |
|
42 |
|
|
|
|
|
|
||
|
…and groove sides. |
We now need to find the center stud so that we can nail it in place. |
|
||
|
43 |
|
44 |
|
||
|
|
|
|
|||
|
Transfer the center measurement taken earlier to the top of the plywood sheet (this should be right around 21-1/2”) |
Mark this measurement all the way down the center to that the nails will hit the center stud. |
|
|||
|
45 |
|
46 |
|
||
|
|
|
|
|||
|
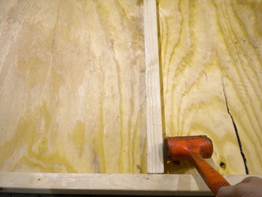
Nail all the way down the length of the center stud. |
Flip the assembly over and transfer the center measurement to this side. |
|
|||
|
47 |
|
48 |
|
|
|
|
|
|
|
|||
|
|
Nail all the way down the length of the center stud on this side. |
|
|||
|
49 |
|
|
|
|
|
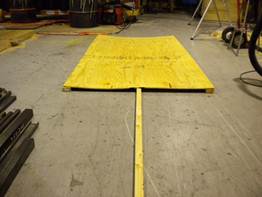
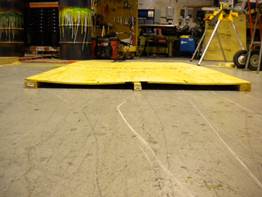
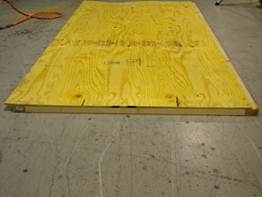
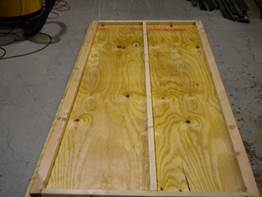
All done! |
|
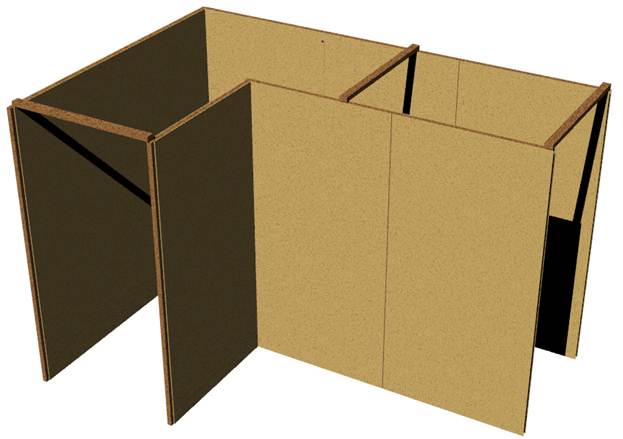
WALL PANEL INSTALLATION
|
1 |
|
2 |
|
|
|
|
|
|
||
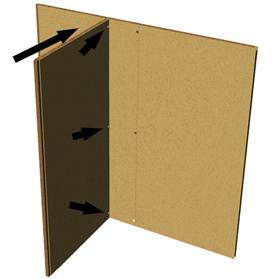
|
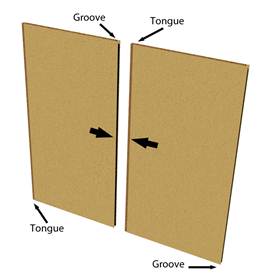
Push two panels into each other inserting a tongue into a groove. It helps to insert the tongue side at an angle at the top and then push it into place. |
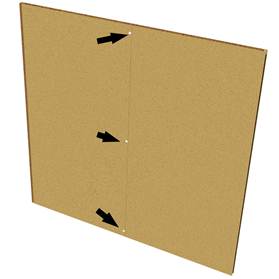
Install three screws on each side of the panels through the tongue into the groove. |
|
||
|
3 |
|
4 |
|
|
|
|
|
|
||
|
Screw a 2x2x8’ stud anywhere you want to install a 90 degree wall. |
Push a wall tongue into the 2x2x8’ stud. And install three screws on each side of the panel. |
|
||

|
5 |
|
|
|
|
|
Screw 2x4 or 2x3 studs across the tops of hallways for support. |
|

|
6 |
|
|
|
|
|
You can cover the walls with flame retardant plastic (available from FrightProps). Avoid using regular black plastic from the hardware store… it is highly flammable! |
|