
Making a reproduction mold of an arm
Categories:
Prop Making
The procedures here will give you a good idea of what's involved in making a mold. These steps can also be used for other types of molds such as heads, legs, etc. We suggest that you get a copy of the DVD that explains this and much more in detailed visual steps.
You will need...
- WED sculpting clay (or an object of your choice)
- Brush-On 40 (the project shown required 1x 1-Gallon Kit)
- Plasti-Paste
- So-Strong color tints
- Bullseye Shellac or Crystal Clear spray
- Disposable chip brushes or paint brushes
- Disposable gloves
- Mixing sticks
- Tin foil
- Mixing bowls
- Cabosil (optional)
- Ease Release 200
- A sharp utility knife
- FlexFoam-It! III (if you will be filling with foam)
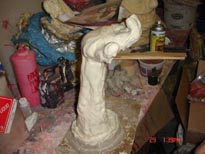
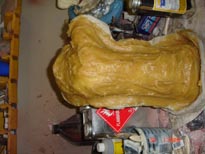
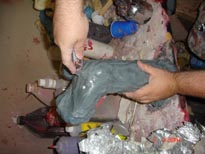
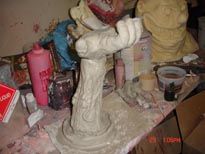 Use WED clay to sculpt or select any other object you'd like to reproduce. |
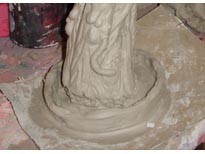 Build a wall about 1" high around the entire object as shown. This will act as a dam in future steps. |
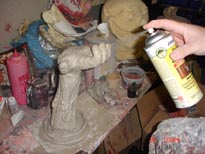 Coat entire object with Bullseye Shellac or crystal clear spray. This will seal the object. |
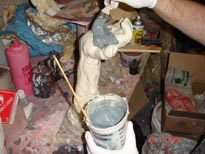
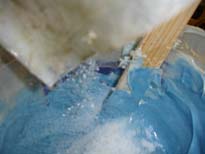
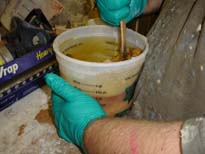
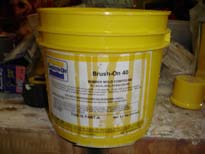 Mix up a small batch of Brush-On 40 using part A... |
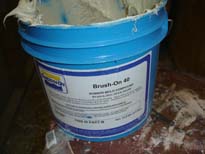 ...and part B. You will need enough to coat the entire object. |
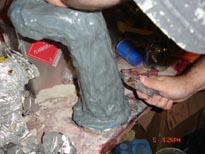
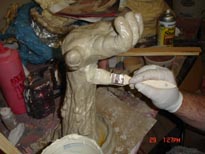 Use a chip brush or any other disposable brush to apply Brush-On 40. |
 Work fast and continue to coat the entire object. Brush-On 40 will start to set in about 10 minutes. |
 Make sure that all areas are completely covered with a nice even coat. |
 Let Brush-On 40 dry for about 30-minutes. Once it is tacky to the touch we are ready to apply the second coat of Brush-On 40. |
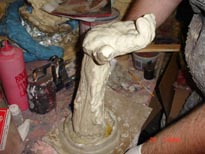
 Mix up a second batch of Brush-On 40. Add some So-Strong Color Tints to this batch and all subsequent batches. This will help you to differentiate between coats. That way you can see if you miss any spots. |
 Apply Brush-On 40. Make sure that all Brush-On 40 from previous coat is covered. Let this coat dry about 30 minutes. |
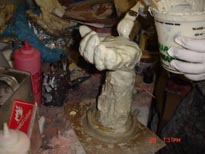
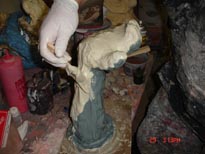 Mix and apply 3rd coat of Brush-On 40 and let dry for about 30 minutes. |
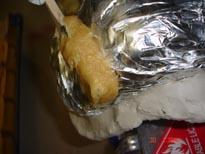
 In the 4th coat you can add some Cabosil to the mixture. This will make a stronger, thicker batch that should be applied only to areas of the mold that may tear. |
 Apply to all undercut areas and weak areas... |
 ...along the seem (this is where you will cut the mold to remove the clay later on)... And around the entire perimeter. Let dry about 30 minutes. |
 Mix and apply 5th and final coat. |
Let final coat dry overnight or at least 6 hours. |
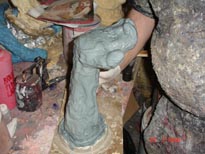
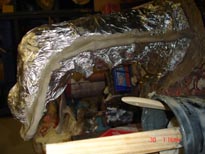
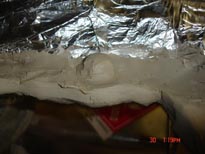
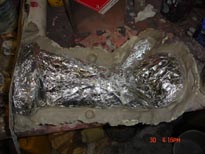
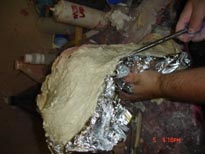
 We will now prep for and apply the mother mold. Press tin foil onto surface of the object. Make sure all areas are covered tightly and make sure area around the object is covered. |
 build a 1 inch clay dividing wall around object. |
 Only one side of the wall should be nice and flat (the side you will be applying Plasti-Paste to first). |
 |
 |
 Add a few small circles or bumps of clay around the wall to act as registration marks so the mother mold goes back together perfectly. |
 |
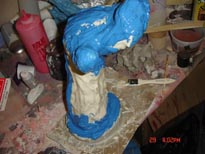
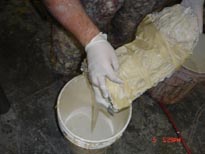
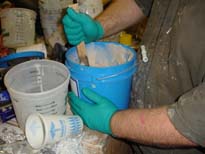 Mix up a batch of Plasti-Paste using Parts A and B. |
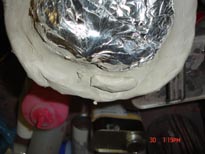
 You will need enough Plasti-Paste to coat half the entire object with about 1/4 in. Do not coat both halves. |
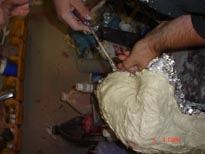
 Start coating using a chip brush or other disposable tool. |
 Continue coating all areas of tin foil. Work fast! You only have about 10 minutes before it sets up. |
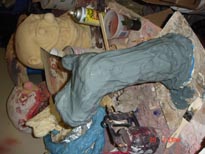
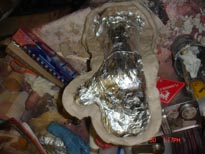
Let Plasti-Paste dry about 1 hour. Then remove clay wall. |
 Clay is removed in this picture but some residue still exists. This is okay. |
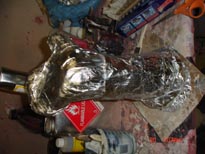
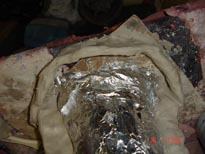
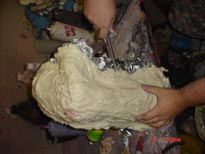
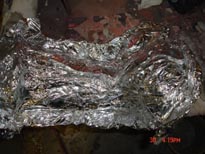 Press tin foil onto surface of the object that does not yet have Plasti-Paste applied. This will make sure the two halves of the mother mold do not bind together. |
 Mix up another batch of Plasti-Paste using Parts A and B and apply to the tin foil on the side not previously coated. |
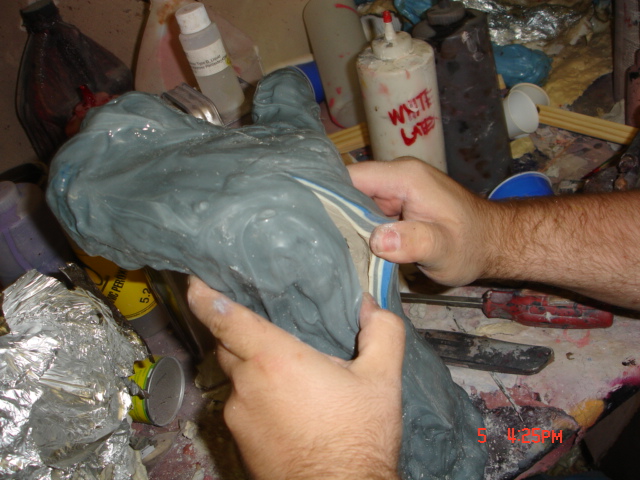
 Once the Plasti-Paste is fully dry use a flat screw driver to pry the two halves apart. |
 Work slowly prying around all edges |
 Continue prying around all edges |
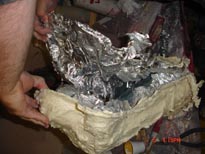 And pull apart both halves. |
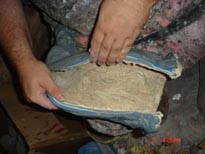
 Use a sharp utility knife to cut a slit from the top all the way down to the bottom. |
 |
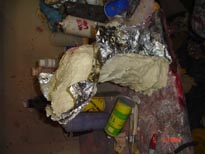
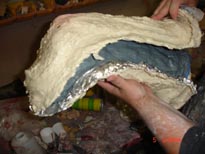
 Pry the mold apart at the cut. |
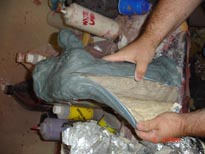 Reveling the clay underneath. |
 Clean out all clay from the mold. You may have to wash it out with water to get all clay out. |
Lightly spray inside of mold with Ease Release 200. |
 Put the mother mold back onto the mold. |
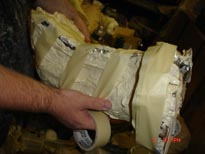 Wrap with tape or rubber bands to hold the mother mold together. |
 Place mold in bucket with fill hole at the top. |
 Fill mold to the top with Latex. |
 Immediately pour latex out of mold. Let dry overnight. If you will be making a hollow prop (such as a mask or glove) you can fill and pour out again to get a thicker skin. This is not necessary if you will be filling with foam. |
If you will be filling with foam: Mix up a batch of FlexFoam-iT! III and pour into mold. Let dry. |
Remove mother mold halves and then remove prop from mold. |
Paint prop. |
Finished! The mold can be reused over and over. |
